All the necessary software will be HERE
You are going to need a thumb drive and your JTAG/RGH'ed Xbox 360 with freestyledash 3.
PS: if you have already a dump of your NAND and the CPU KEY you can skip steps 1 and 2, if you don't know what those are and/or don't have them, go right ahead young padawan.
STEP 1
1. Boot your Xbox into XeLL(Press Eject)
2. Wait a few seconds
3. You will see your CPU Key4. Write your CPU Key on a piece or paper or a notepad document or you can take a picture and keep as a backup
STEP 2
1. Get your thumb drive and stick it into your PC and format it FAT32
2. Un-archive the Flash360 and copy it over to the thumb drive.
3. Stick the USB stick in your xbox 360 and run the Flash 360
4. Go to XeXMenu or freestyledash file manager > USB > Flash360 Folder > Flash360.xex
5. When Flash360 Starts Press 'X' Then 'A'6. When it gets to 100% Press 'BACK'7. Remove Your USB from Xbox then plug it back Into your computer
1. Open XeBuild
2. Press Open > Find Your USB > Flash360 Folder > flashdmp.bin (any backup of your nand will do)
3. In my case the RGH method was wrong and I had to change it to RGH 2.0 ( IMPORTANT if you have a Xbox 360 slim it's 100% RGH 2.0 if you have a phat and it is below 14699 then you sure have RGH1.0 everything above that would be 2.0)
4. Now Add Your CPU Key Where It Says CPU Key5. Change The 'Kernel Version' To The dashboard/Kernel you would like
6. Click on the check KV button to assure everything is OK, if everything checks out.7. Click 'Generate Hacked image'
8. Make sure that image is on your USB thumb drive. Safely remove it from the PC.
STEP 4
1. Put the thumb drive back into the Xbox
2. Goto XeXMenu or freestyledash file manager > USB > Flash360 Folder > Flash360.xex
3. Press 'A' > 'A' > 'Start' > 'A'
4. When Finished Press 'Back'
5. Restart your Xbox
6. Wait 30 Seconds
7. Turn your Xbox back ON
Now to get the Kinect working and the avatar showing again (you will notice after your console is back on that the avatar is missing)
 STEP 5
1. Get your thumb drive back to your PC and unarchive the SystemUpdate_16547_USB.zip
2. Copy it's content to the flash drive ( the $systemupdate folder and all it's content)
3. VERY IMPORTANT rename the $systemupdate folder to $$ystemupdate. (this way the xbox is going to recognize the update and proceed to do it) Don't worry this process will not interfere with your FSD or RGH.
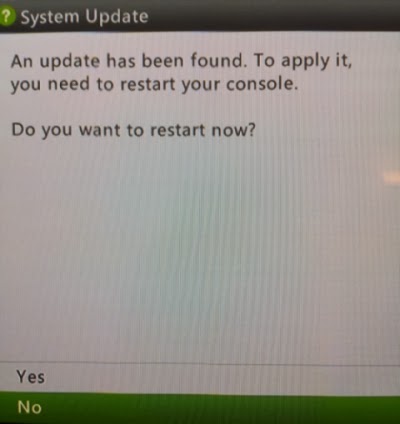
4. Safely remove the USB stick from the PC and get it back into the Xbox, you should be greeted by a message saying an update is needed if not, restart the console or boot into the regular Dash by holding the RB while the console is booting (that might help)
After this process is done you have successfully update your console to the latest dashboard. Congrats and thanks for following my tutorial, also I am not responsible if you damage your console.

No comments:
Post a Comment